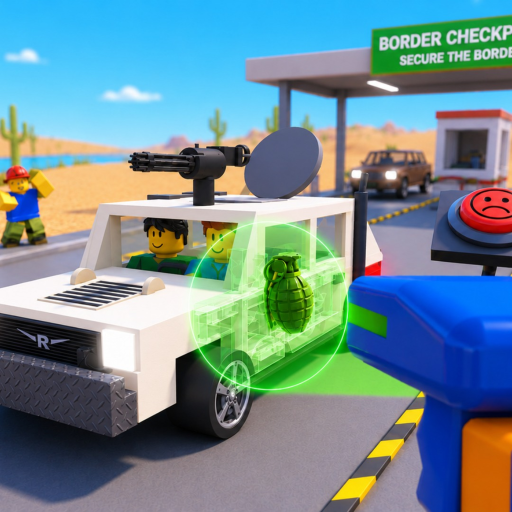
When a car arrives, treat the vehicle and the driver as one inspection. Start with the visible vehicle shape and lane position, then use the X-ray or search action that the game makes available. Continue to the trunk and engine areas before moving on to the driver documents. This order keeps a suspicious item from being missed simply because the first visible check looked normal.
Vehicle names, model rosters, handling values, and reward rates are not listed here unless they can be confirmed from a current public source or an in-game observation. If a future update adds a named car, record the exact label and the check that distinguishes it. Until then, use the inspection checklist and the threat guide for decisions, and return to this page when the vehicle wording changes.
The practical vehicle loop is simple: stop the arrival, inspect the outside, search the relevant compartments, read the documents, and decide whether the threat branch needs a pause. A car can look ordinary while its trunk, engine, or paperwork changes the next action. The linked checklist is useful for a first session because it records each observed step without inventing a score or a payout.
For a quick reference, open the inspection guide after selecting a vehicle, then use the wiki roles page if you are deciding which officer role fits the task. If your game session shows a different vehicle label or interaction, keep the difference as an update note rather than guessing a stat. That keeps this vehicle reference useful across patches and makes the next verification pass focused.